How to Fix a Flat Tire on a Bike: A Step-by-Step Guide
Dealing with a flat tire is one of the most common problems cyclists face. Whether you’re commuting to work, enjoying a weekend ride, or out on a long-distance adventure, knowing how to fix a flat tire can save you time, hassle, and even money. Fortunately, with the right tools and some basic knowledge, you can quickly get back on the road.
In this guide, I’ll walk you through the step-by-step process of fixing a flat tire on a bike. This method is beginner-friendly, reliable, and easy to follow, ensuring you’re prepared for any flat tire situation.
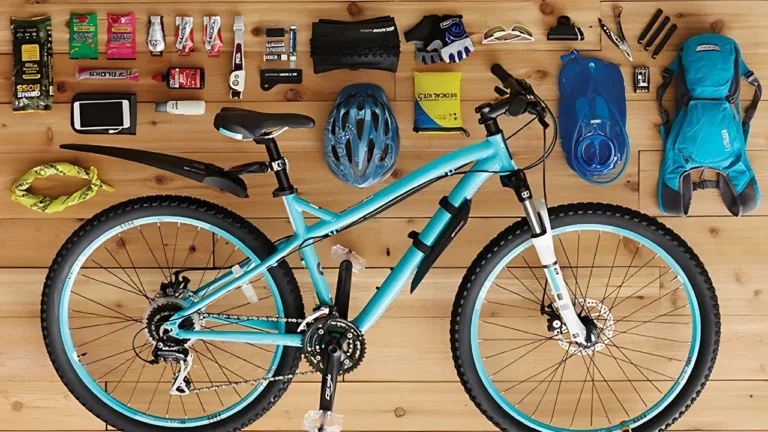
What You’ll Need
Before starting, make sure you have the following tools:
- Spare inner tube (or a patch kit if you prefer repairing)
- Tire levers
- Bike pump (with the correct valve type: Presta or Schrader)
- Optional: CO2 inflator (for a quicker pump-up)
Having these essentials in your bike repair kit will ensure you’re prepared anytime you get a flat.
Step 1: Remove the Wheel
a) Shift to the Smallest Gear
If you’re fixing a flat on the rear tire, shift your bike into the smallest rear gear (the one closest to the frame). This makes removing and replacing the wheel easier later.
b) Open the Quick Release or Thru-Axle
For most bikes, there’s a quick release lever or a thru-axle holding the wheel in place. Open the quick release or unscrew the thru-axle to detach the wheel from the frame.
c) Detach the Wheel
- For the rear wheel, lift the derailleur slightly to ease the wheel out.
- For the front wheel, simply pull it off once the quick release is open.
Tip: If you’re fixing a flat on the go, flip your bike upside down so it rests on its saddle and handlebars. This makes removing the wheel easier.
Step 2: Remove the Tire and Inner Tube
a) Deflate the Tire Completely
If the tire still holds some air, press the valve to release the remaining air.
b) Use Tire Levers to Remove the Tire
Insert one tire lever under the tire bead (the edge of the tire) and pull it upward. Hook the lever onto a spoke to hold it in place. Use a second lever to slide around the rim, fully detaching one side of the tire.
c) Remove the Inner Tube
Once one side of the tire is off, pull out the inner tube. Start by pulling it away from the valve stem and then remove the rest of the tube from the tire.
Step 3: Inspect the Tire
Before inserting a new tube, check the tire for any sharp objects, such as glass, thorns, or nails, that might have caused the puncture. Run your fingers carefully along the inside of the tire, feeling for anything stuck.
Tip: Check the rim strip (the protective lining covering the spoke holes on the rim). If it’s damaged, it can cause punctures in the inner tube.
Step 4: Install the New Inner Tube
a) Pre-inflate the New Tube
Pump a small amount of air into the new inner tube before installing it. This gives it shape and makes it easier to work with.
b) Insert the Tube into the Tire
Start by placing the valve stem through the hole in the rim. Then, tuck the rest of the tube inside the tire, making sure it’s evenly distributed.
c) Re-seat the Tire Bead
With the tube in place, begin working the tire bead back onto the rim. Start opposite the valve and work your way around both sides of the tire. The last section may be tight, but avoid using tire levers here, as they can pinch the tube.
Tip: Check that the inner tube isn’t pinched between the tire and rim to avoid puncturing it again when inflating.
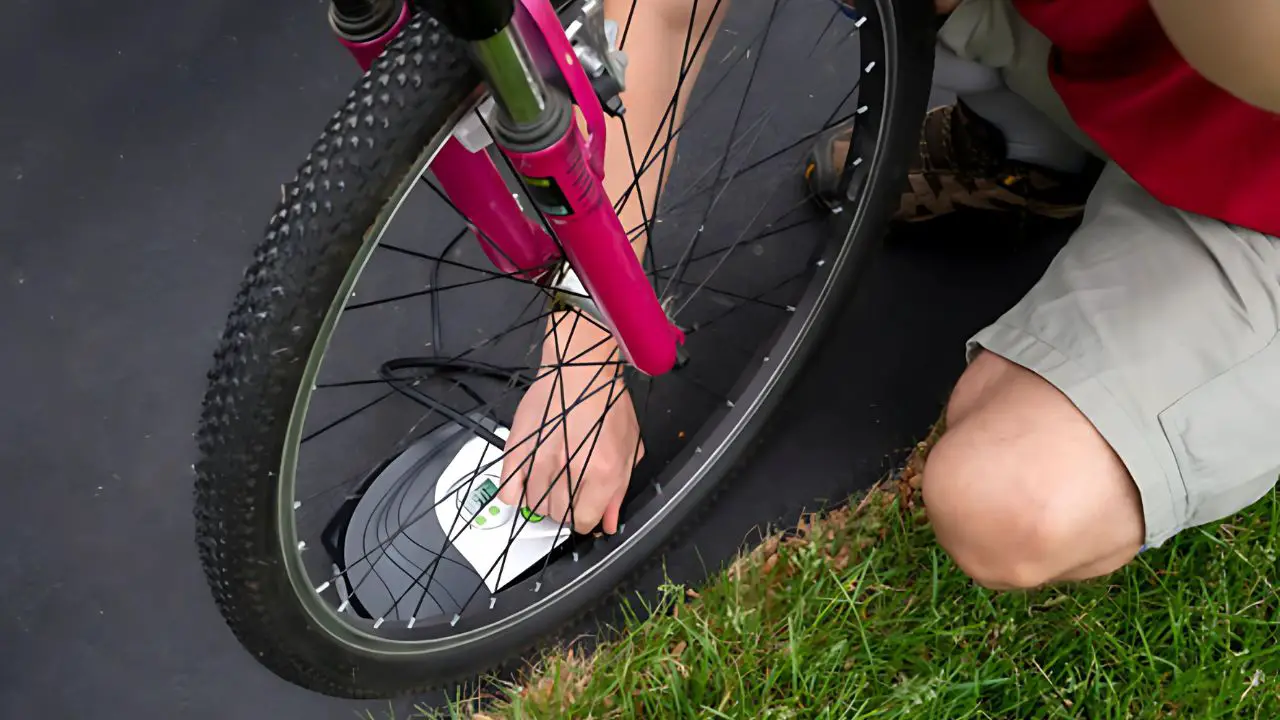
Step 5: Inflate the Tire
Once the tire is seated properly, use your pump or CO2 inflator to inflate the tire to the recommended PSI (printed on the tire’s sidewall). Inflate slowly and check that the tire is seated evenly on the rim all the way around.
Tip: After inflating, give the wheel a quick spin to make sure everything is aligned properly.
Step 6: Reattach the Wheel
a) Place the Wheel Back on the Bike
- For the rear wheel, pull back the derailleur slightly and guide the chain onto the smallest gear while inserting the wheel into the dropouts.
- For the front wheel, simply position the wheel back into the front fork dropouts.
b) Tighten the Quick Release or Thru-Axle
Close the quick release lever or tighten the thru-axle back into place. Make sure it’s secure before riding.
Step 7: Final Check
Once the wheel is reattached, spin it to ensure it’s centered and running smoothly. Give the brakes a quick test to make sure they’re working correctly.
Common Mistakes to Avoid
- Pinching the Tube: When seating the tire, make sure the tube isn’t caught between the rim and tire. This can cause another flat almost immediately.
- Overinflating: Be mindful of the tire’s recommended pressure. Overinflating can lead to blowouts, especially on rough terrain.
- Forgetting the Cause of the Flat: Always check for the object that caused the flat, or you may puncture your new tube right away.
Conclusion: Ready to Ride
Fixing a flat tire may seem intimidating at first, but with the right tools and this step-by-step guide, you’ll find that it’s a straightforward process. Not only will you save time and money, but you’ll also gain confidence in maintaining your bike. Having this skill makes you a more self-sufficient cyclist, whether you’re out on the road or trails.
With your flat fixed, you’re ready to get back out and enjoy the ride—flat-free!
Happy cycling!
Read more: